Installing a Pfister shower valve requires precision and adherence to manufacturer guidelines. Proper installation ensures optimal water flow, efficiency, and longevity of the valve, while preventing leaks and damage.
1.1 Overview of Pfister Shower Valves
Pfister shower valves are renowned for their durability, innovative design, and reliability in regulating water temperature and flow. Designed for both functionality and aesthetics, these valves are available in various configurations, including single-handle, double-handle, and triple-handle models. The 0X8, JX8, and VB8 series are popular choices, offering pressure-balancing capabilities to maintain consistent water temperature. Pfister valves are compatible with tub and shower combinations, standalone showers, and even back-to-back installations. They feature advanced components like ceramic cartridges, which enhance performance and reduce maintenance. Known for their sleek designs and compatibility with modern bathroom decor, Pfister shower valves are a preferred choice for homeowners and professionals alike. Their easy-to-follow installation instructions and robust construction ensure a hassle-free experience.
1.2 Importance of Proper Installation
Proper installation of a Pfister shower valve is crucial to ensure optimal performance, safety, and longevity. Incorrect installation can lead to leaks, water damage, and inefficient water flow. It may also void the manufacturer’s warranty. Properly securing the valve body to the framing and aligning it correctly ensures the valve operates smoothly and prevents costly repairs. Adhering to the installation instructions guarantees the valve’s pressure-balancing features function correctly, providing consistent water temperature and preventing scalding. Additionally, correct installation minimizes the risk of mineral buildup and ensures the valve’s ceramic cartridge lasts as intended. Improper installation can result in early wear and tear, requiring frequent replacements. Therefore, following the manufacturer’s guidelines closely is essential for a safe, efficient, and durable shower system. Proper installation also enhances user satisfaction, ensuring a pleasant showering experience for years to come.
Tools and Materials Needed for Installation
Essential tools include a seat wrench, screwdrivers, and pliers. Materials like bibb seats, O-rings, and mounting screws are required. Ensure all parts are compatible with the Pfister valve model.
2.1 Essential Tools
For a Pfister shower valve installation, gather essential tools: adjustable wrench, screwdrivers (both flathead and Phillips), pliers, and a seat wrench. These tools ensure proper handling of valve components and connections. Additionally, a knife or flat tool may be needed for removing old parts. Ensure all tools are readily accessible to streamline the process. Proper tool usage prevents damage to the valve and surrounding areas, ensuring a leak-free installation. Refer to the manufacturer’s manual for specific tool recommendations tailored to your Pfister model. Having the right tools on hand is crucial for a successful and efficient installation.
2.2 Required Materials
Installing a Pfister shower valve requires specific materials to ensure a secure and leak-free setup. Essential materials include the Pfister shower valve cartridge, mounting screws, and gaskets. Additionally, Teflon tape is necessary for sealing pipe connections. A pressure-balancing valve may be included for optimal water temperature control. For tub and shower combinations, ensure the valve body is compatible with both configurations. If replacing an old valve, bibb seats and springs may be needed. Always refer to the manufacturer’s manual for model-specific requirements. Using genuine Pfister replacement parts ensures compatibility and longevity. Proper materials ensure a professional-grade installation, preventing future leaks and maintenance issues. Gather all necessary components before starting the installation process to avoid delays. Ensure materials are compatible with your water supply system and local plumbing codes. This preparation guarantees a smooth and successful installation experience.

Step-by-Step Installation Guide
Begin by turning off the water supply and preparing the site. Assemble the valve body, mount it to the wall, and connect water supply lines. Install the shower cartridge, secure all connections, and test the valve for leaks and proper function.
3.1 Preparing the Site
Before starting the installation, ensure the site is properly prepared. Turn off the water supply to the shower system to prevent any leaks or water damage. Access the area behind the shower wall, which may require removing drywall or accessing through a plumbing access panel. Clean and dry the area around the installation site to ensure a smooth process. Verify that the valve body is positioned correctly, with the SHWR marking facing upward for shower-only installations or appropriately aligned for tub-and-shower combinations. Ensure all necessary tools and materials are within reach. If working in a new construction or renovation, double-check the framing to secure the valve body properly. Proper preparation ensures a safe and efficient installation process, avoiding potential issues during the procedure. Always follow the manufacturer’s guidelines for specific requirements related to valve positioning and site readiness.
3.2 Assembling the Valve Body
Assembling the Pfister shower valve body requires careful attention to detail. Begin by ensuring the valve body is oriented correctly, with the SHWR marking facing upward for shower-only installations or aligned appropriately for tub-and-shower combinations. Check that the Plasterguard is properly seated to protect the valve during wall finishing. Measure and mark the correct depth for the valve body in the wall, ensuring it aligns with the shower outlet. Secure the valve body to the framing using the provided screws, ensuring it is flush with the finished wall surface. Tighten the screws firmly but avoid over-tightening, which could damage the valve. If necessary, attach any additional components, such as the pressure-balancing cartridge or diverter, according to the manufacturer’s instructions. Proper assembly ensures the valve functions correctly and maintains water flow efficiency. Always refer to the specific model’s instructions for any unique assembly requirements.
3.3 Mounting the Valve to the Wall
Mounting the Pfister shower valve to the wall requires precise alignment and secure fastening. Ensure the valve body is positioned correctly, with the SHWR marking facing upward for shower installations or aligned according to the tub-and-shower configuration. Place the valve body so the front of the Plasterguard is flush with the finished wall surface. Use the provided screw holes to secure the valve body to the framing or wall studs, ensuring it is level and properly aligned. Tighten the screws firmly but avoid over-tightening, which could damage the valve or surrounding area. Double-check the depth of the valve body in the wall, ensuring it matches the manufacturer’s specifications. For back-to-back installations, follow the specific instructions provided in the valve body’s installation guide. Proper mounting ensures stability and correct water flow distribution. Always refer to the manufacturer’s instructions for model-specific mounting requirements.
3.4 Connecting Water Supply Lines
Connecting the water supply lines to the Pfister shower valve is a critical step that requires care to ensure leak-free operation. Begin by turning off the water supply to the shower faucet. Locate the hot and cold water supply lines and align them with the corresponding inlets on the valve body. Secure the lines using the appropriate wrench, ensuring a snug fit without overtightening, which could damage the threads. Use a seat wrench to tighten the bibb seats in the valve body, ensuring they are properly seated. Double-check that the connections are correct, with the hot water line on the left and the cold water line on the right. Once connected, turn the water supply back on slowly and inspect for any leaks around the connections. Allow the system to pressurize before testing the valve operation. Properly connected supply lines ensure consistent water flow and pressure balancing functionality. Always follow the manufacturer’s guidelines for specific connection requirements.
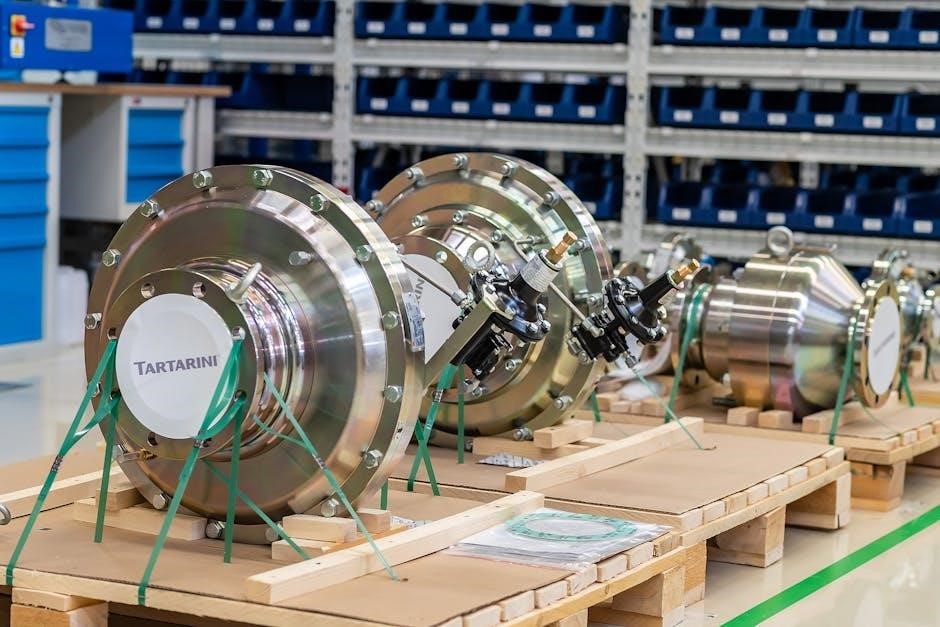
3.5 Installing the Shower Cartridge
Installing the shower cartridge is a straightforward process that ensures proper water flow and temperature control. Begin by accessing the valve body, ensuring the water supply is turned off. Remove any debris or old cartridge residue from the valve body. Align the new cartridge with the valve body, ensuring the notches or tabs match up correctly. Gently push the cartridge into place until it clicks securely. Use the provided tool or a wrench to tighten the retaining ring, ensuring a firm hold without over-tightening. Once installed, turn the water supply back on and test the valve by adjusting the temperature and flow. Proper installation of the cartridge ensures smooth operation, preventing leaks and maintaining water pressure balance. Always refer to the manufacturer’s instructions for specific cartridge alignment and securing methods. A correctly installed cartridge guarantees optimal performance and longevity of the shower valve.
3.6 Final Testing of the Valve
After completing the installation, it’s crucial to test the Pfister shower valve thoroughly. Start by turning on the water supply and checking for any leaks around the connections. Ensure all joints are secure and tighten if necessary. Next, activate the shower to verify proper water flow and temperature regulation. Check the valve’s ability to balance hot and cold water effectively. Test the handle or controls to ensure smooth operation and precise temperature adjustment. Run the shower for several minutes to observe consistent performance. Additionally, check the showerhead and tub spout (if applicable) for proper water distribution. If any issues arise, such as leaks or uneven water flow, refer to the manufacturer’s troubleshooting guide or consult a professional. Proper testing ensures the valve functions as intended, providing reliable performance and preventing future problems. A well-tested valve guarantees a safe and enjoyable showering experience. Always follow the manufacturer’s recommendations for final testing procedures.
